
13 Tips for Planning a Northern Lights Photography Trip
It’s a dream for many to see the Northern Lights, and to see them through a camera lens lifts the experience to a whole different level. But, let’s be honest, this is not a quick hop to the local park. Though it isn’t out of this world, it does take a bit of thought, prep, and a smidgen of patience to make it work. The good news? It’s all worth it. Think about it: Dappled green and purple hues shimmering over the Arctic sky, while you are there taking the evidence in your camera.
Planning a Northern Lights photography trip is an adventure in and of itself, however. You’ve got logistics to manage, weather to watch, and gear to learn. With a little preparation and the right mindset, you’ll be snapping photos that even the folks at National Geographic would be proud of. Now, let’s look deeper in to the nitty gritty so your dream adventure goes as smoothly as possible.
Choose The Right Location

Chasing the Aurora Borealis is better in some spots than others. Tromsø in Norway, Iceland, Finnish Lapland and northern Canada are popular destinations. They are located either inside or near the “Auroral Oval,” that sweet spot where the lights are brightest. The best viewing conditions are in areas far from city lights and near the Arctic Circle, according to a study by the Geophysical Institute.
Time Your Trip Wisely

The winter months, from September to March, are the peak of aurora sightings. The longer nights also give you better chances to spot the lights. Scientists also recommend that you plan your visit during times of high solar activity, the intensity of which can be tracked online via NOAA’s Aurora Dashboard.
Check The Weather Forecast

Northern Lights photography is all about clear skies. Even the most promising auroral activity can be ruined by overcast weather. Yr.no or Clear Outside are websites and apps which can provide detailed weather forecasts for ‘the spot’ you want.
Scout Locations In Daylight

Come early so that you can scope out the scene. Hazardously icy or unstable terrain should be checked for. If you know your setting during daylight hours, you’ll be ready when the auroras show up after dark.
Understand Aurora Forecasts

KP scale for Aurora activity is from 0 to 9. The greater the number, the brighter the lights. In prime locations, visible auroras require a KP index of 2 or 3. If you want to keep track you can do so with apps like My Aurora Forecast.
Have A Backup Plan
Auroras are unpredictable. If the lights don’t show, take advantage of your time by visiting local attractions, eating Arctic cuisine, or doing something else like dog sledding.
Pack The Right Gear

The way you set up your camera can make or break your photos. You must have a DSLR or mirrorless camera with manual settings, a nice sturdy tripod, and a wide angle lens with a fast aperture, say f/2.8. Extra batteries will drain quickly in cold weather, so don’t forget to pack extra. ‘Your gear is only as good as your preparation,’ advises photographer Chris Burkard, ‘Use it in practice before you go.’
Learn Basic Camera Settings

To shoot the Northern Lights you need long exposure and specific settings. Try starting at ISO 1600, shutter speed 10 – 20 seconds, and your lenses widest aperture. As long as the auroras are bright enough, you can adjust to your local conditions.
Keep Your Gear Protected From The Cold

Electronics can be damaged by cold temperatures. When you’re not using your camera, keep it warm, in an insulated bag or close to your body. When going between cold and warm environments, make sure to not leave your gear sitting out as it not only won’t acclimate, but you’ll run the risk of condensation forming inside your duffles.
Dress For The Cold

You’ll be outside for hours, sometimes in subzero temperatures. Dress in layers: Items including thermal underwear, insulating layers, as well as waterproof outerwear. Don’t skimp on gloves or hats or thick socks. ‘Comfort keeps you focused on the shot, not your freezing toes,’ says Arctic adventurer Alex Strohl.

Practice Patience

Auroras don’t follow a schedule. Other times you’ll wait for hours and see nothing, then the lights will burst across the sky when you least expect it. Pack snacks, hot drinks, and a good sense of humour.
Don’t Overlook Post Processing

The best shots still need editing. Adobe Lightroom is one of several tools allowing you to increase details and bring out all of the auroras’ vibrancy. Contrast, sharpness and color balance experiment to get your photos really popping.
Enjoy The Moment

Lastly, don’t spend so much time messing with your camera settings that you forget to look up. Whether you see the perfect shot or not, witnessing the Northern Lights is a thing you’ll remember forever. It’s not always about the destination, sometimes it’s about the journey too.
Disclaimer: This list is solely the author’s opinion based on research and publicly available information.
Affordable Home Entertainment: 11 Must-Have Finds For Enhancing Your Family Movie Nights

Affordable Home Entertainment: 11 Must-Have Finds For Enhancing Your Family Movie Nights
How to Clean Your Smoker Grill Combo Like a Pro

How to Clean Your Smoker Grill Combo Like a Pro
10 Best African Photo Safaris You Must Experience
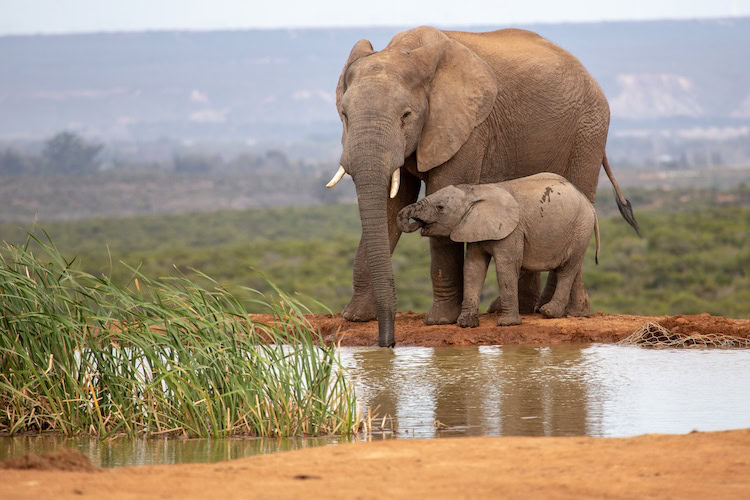
Even if you’ve been on a safari in the past, an African photo safari is something you want to experience or at the very list add to the top of your bucket list.
But first, what is a photo safari? The phrase “photo safari” is not a common sentence structure but its meaning can be deduced easily. An African photo safari in general context means going on an adventure with the sole purpose of taking high-quality pictures.
10 Best African Photo Safaris You Must Experience


