
13 Tips for Planning a Northern Lights Photography Trip
The Northern Lights, or Aurora Borealis, is one of the most fantastic shows of nature – a wondrous display of bubbles of green, purple, and pink colors in the night sky. Many dream of witnessing and photographing this phenomenon. Of course, if there’s a dream worth chasing, it does take preparation and a little bit of luck to get it right.
Just showing up with a camera isn’t enough to plan a Northern Lights photography trip. Finding the right location, mastering the technical aspects of photography, and being prepared for the event itself can make all the difference. Here are some tips to help you make the most of your adventure.
Choose the Right Time

Certain times of the year are more likely to see the Northern Lights. The best time is usually from September to March when the nights are longest and darkest. If possible try aiming for a new moon phase, as moonlight can wash out the colors and make them harder to capture.
Pick a Prime Location

Some of the best places to see the auroras are Alaska, Canada, Iceland, Norway, and Finland. The darkest skies are found in remote areas away from city lights. A National Oceanic and Atmospheric Administration (NOAA) study found that you may have the best viewing opportunities at locations near 65-70 degrees latitude.
Monitor Solar Activity

Solar winds that travel toward Earth’s magnetic field are responsible for the auroras. Watch space weather forecasts from places like NOAA’s Space Weather Prediction Center. Check the Kp index; a reading of 4 or higher boosts your chances of a dazzling display.
Use the Right Camera Gear
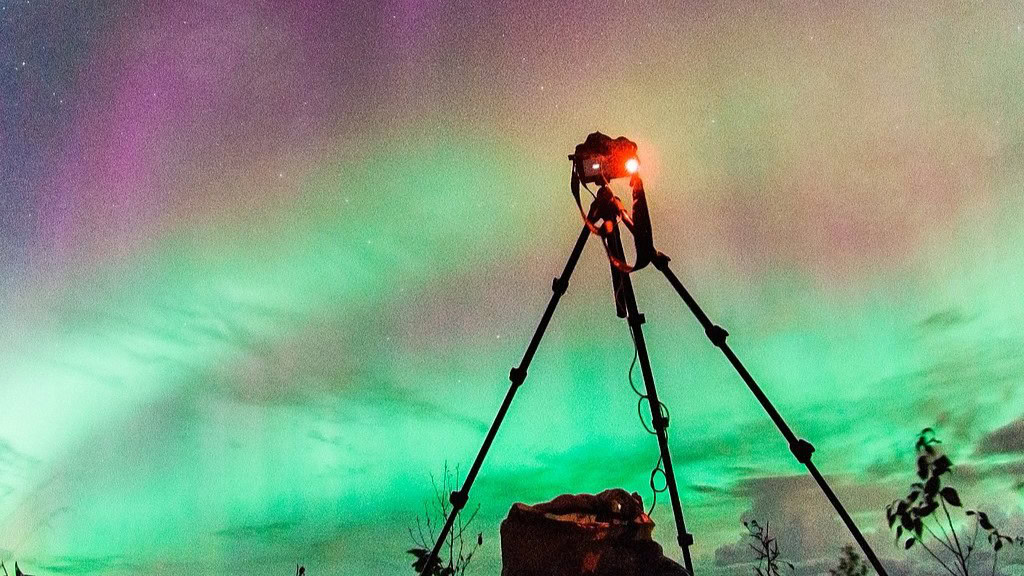
To capture the auroras, you’ll need a DSLR or mirrorless camera with manual settings. Team it with a wide-angle lens and a big tripod to keep those shots steady. Don’t skimp on the tripod, windy nights can ruin your photos if your setup isn’t stable.
Master Your Camera Settings

To shoot the Northern Lights you need to adjust your camera to low light conditions. An aperture as wide as possible f/2.8 or faster, ISO around 800 – 3200, Shutter speed 5 – 15 seconds. Try out these settings to get the right balance for the night’s conditions.
Dress for the Cold

Chasing the Northern Lights can mean hours in freezing temperatures. Wear insulated clothing, waterproof boots, gloves, and a good hat. When temperatures get down to the single digits or lower, hand warmers can be lifesavers.
Scout the Area in Daylight

By arriving early to your chosen spot, you get to know the terrain. Search for safe places to put your gear, watch for hazards, and make your frames; so you’re not stumbling in the dark when the auroras appear.
Be Patient

Patience is key. Auroras are unpredictable, sometimes not showing up at all, or only appearing late at night. Bring snacks, a thermos of hot coffee or tea, and something to keep you occupied while you wait, you’ll be thankful when you do.
Use a Remote Shutter or Timer

Use a remote shutter release or the timer on your camera which keeps the camera from shaking during long exposures. This little step can help keep your shots crisp and sharp.
Experiment With Foregrounds

Auroras are beautiful on their own, but adding a foreground element like a silhouetted tree, a mountain range, a cabin, etc. can make your shots that much better. It will extend your images while giving a sense of depth and context to them.

Understand the Weather

Aurora photography is the enemy of cloud cover. Before you head out, do the local weather forecast and pick nights with clear skies. If it looks like the forecast is cloudy, be prepared to adjust your plans, or where you go.
Bring Extra Batteries

Camera batteries tend to drain faster in cold temperatures than you might think. Bring extras and warm them in the inner pocket of your jacket. A fully charged battery can make the difference between getting that once-in-a-lifetime shot or heading home emptyhanded.
Stay Safe

It’s thrilling to be alone in remote areas at night, but it’s also risky. Tell someone your plans and carry a good flashlight and headlamp, as well as a fully charged phone with your emergency contacts saved. The first thing is safety.
Disclaimer: This list is solely the author’s opinion based on research and publicly available information.
Affordable Home Entertainment: 11 Must-Have Finds For Enhancing Your Family Movie Nights

Affordable Home Entertainment: 11 Must-Have Finds For Enhancing Your Family Movie Nights
How to Clean Your Smoker Grill Combo Like a Pro

How to Clean Your Smoker Grill Combo Like a Pro
10 Best African Photo Safaris You Must Experience
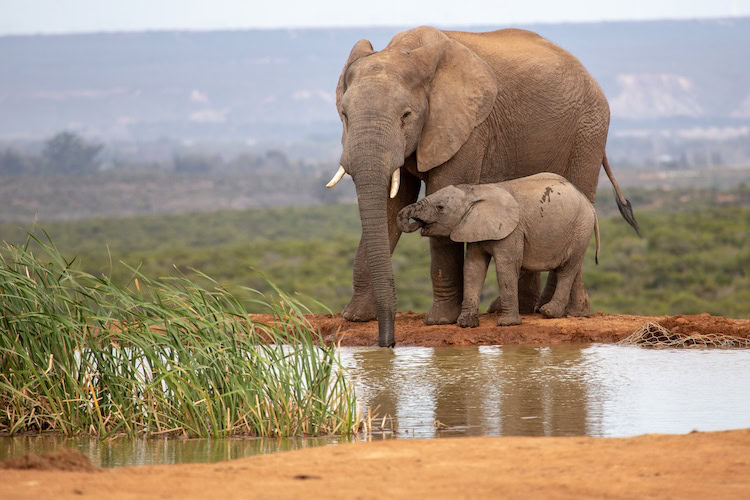
Even if you’ve been on a safari in the past, an African photo safari is something you want to experience or at the very list add to the top of your bucket list.
But first, what is a photo safari? The phrase “photo safari” is not a common sentence structure but its meaning can be deduced easily. An African photo safari in general context means going on an adventure with the sole purpose of taking high-quality pictures.
10 Best African Photo Safaris You Must Experience


