13 Tips for Planning a Northern Lights Photography Trip
One of the most spectacular shows nature has to offer is the Northern Lights, or Aurora Borealis, and a lot of photographers dream is to capture them with a camera. Photographing the natural phenomenon doesn’t only depend on a good piece of equipment and a bit of luck, it takes a lot of careful preparation and knowledge of both of the lights, and your camera.
Whether you’ve got years of experience shooting photos, or you just bought your first lens, planning is the key to getting the most out of your auroral shoot. Here are some tips to help you better bring home stunning photos of the auroras.
Timing Your Visit Perfectly

Getting the Northern Lights is all about timing. Typically, the best months are from September to April when nights are darkest. There is also a role for solar activity and moon phases, so if you can time them for new moon nights with high solar activity you stand the best chance of a dazzling display of auroral brilliance.
Chase the Dark Skies
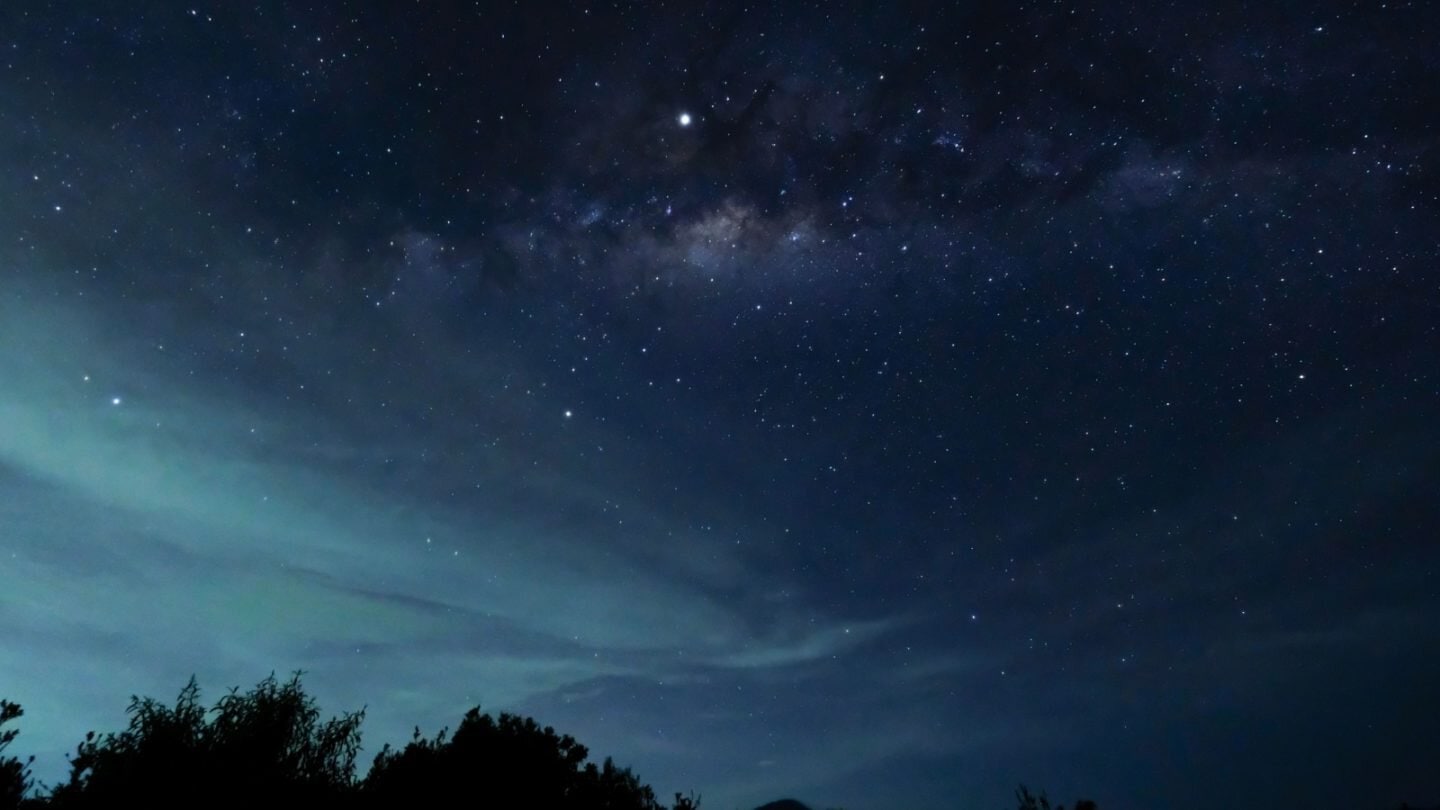
The vivid colors of the Northern Lights are a major barrier because of light pollution. Select locations far from city lights and, if possible, under the “auroral oval,” the ring shaped area where auroras are most often seen. Fairbanks, Alaska, and Tromsø, Norway, are popular dark sky places and frequent auroral displays.
Monitor the Weather

Northern Lights photography needs clear skies. Cloud cover can obscure your view of the auroras, so check weather apps and websites that give real time cloud cover information. The NOAA’s Aurora Forecast can predict cloud cover and auroral activity for you.
Use the Right Gear
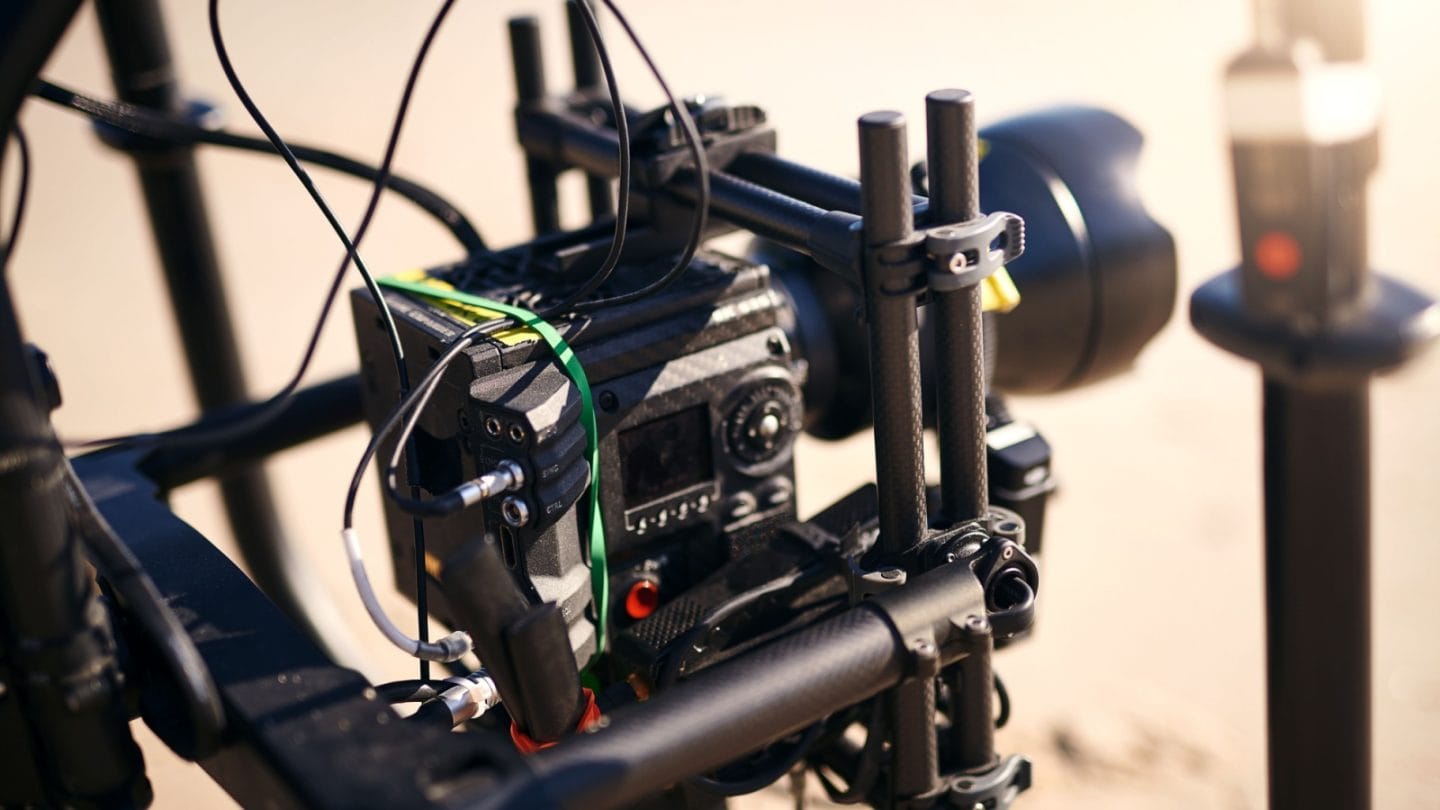
You’ll need a camera capable of manual mode, a wide angle lens with a large aperture, a sturdy tripod and a remote shutter release to get sharp, well exposed shots. It is also important that it can manually focus to infinity because autofocus usually fails in low light situations.
Master Your Settings

Start by using a high ISO, a wide aperture to capture as much light as possible, and a slow shutter speed. If the lights are overexposed, adjust the brightness and movement of the aurora to preserve detail.
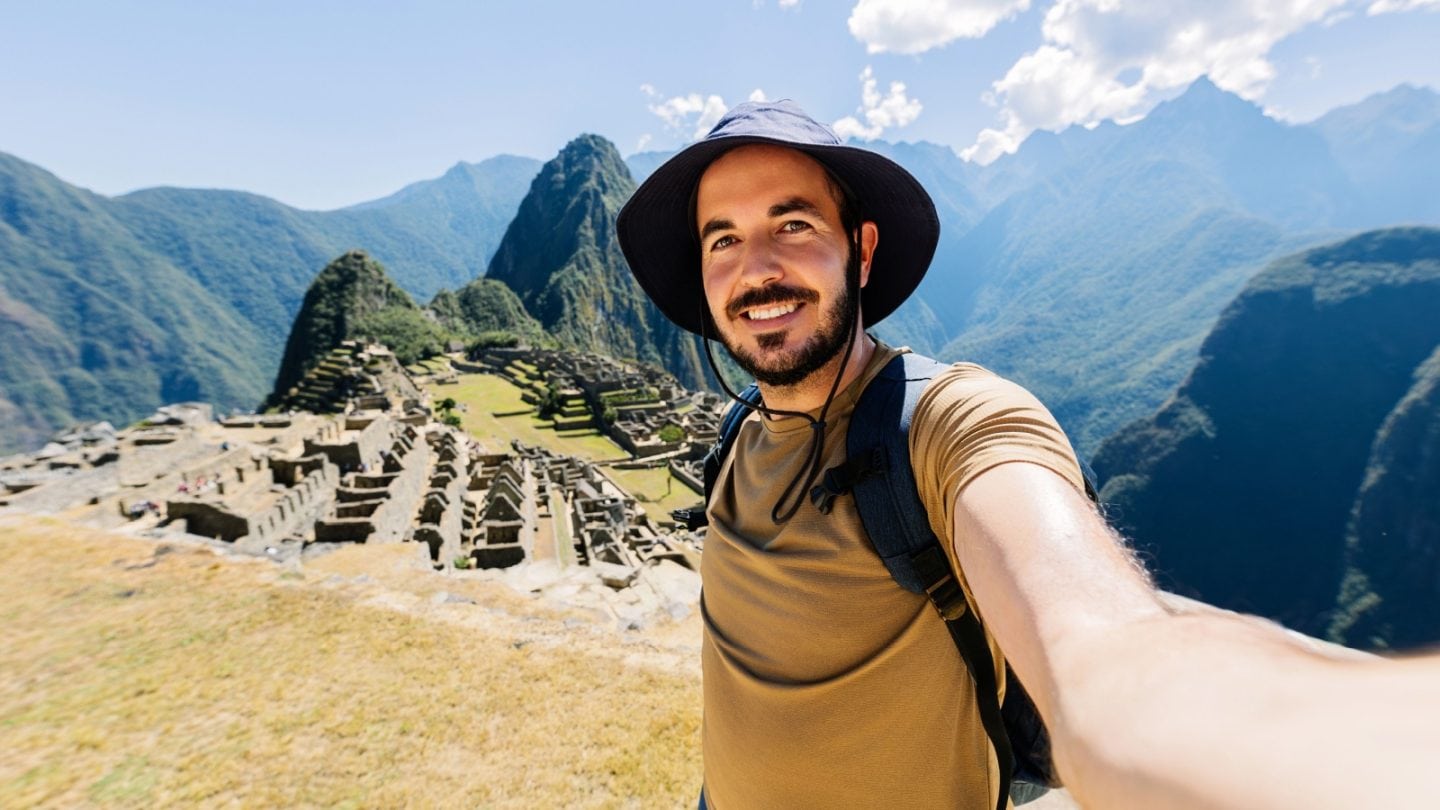
Daylight Scout Your Location
It’s smart to check out and understand your shooting location during the day. By doing so, you can avoid possible hazards and find the best compositions without fear of tripping about in the dark. When it’s light out, it’ll be easier to get acquainted with the area and your photography session will be smoother and safer.
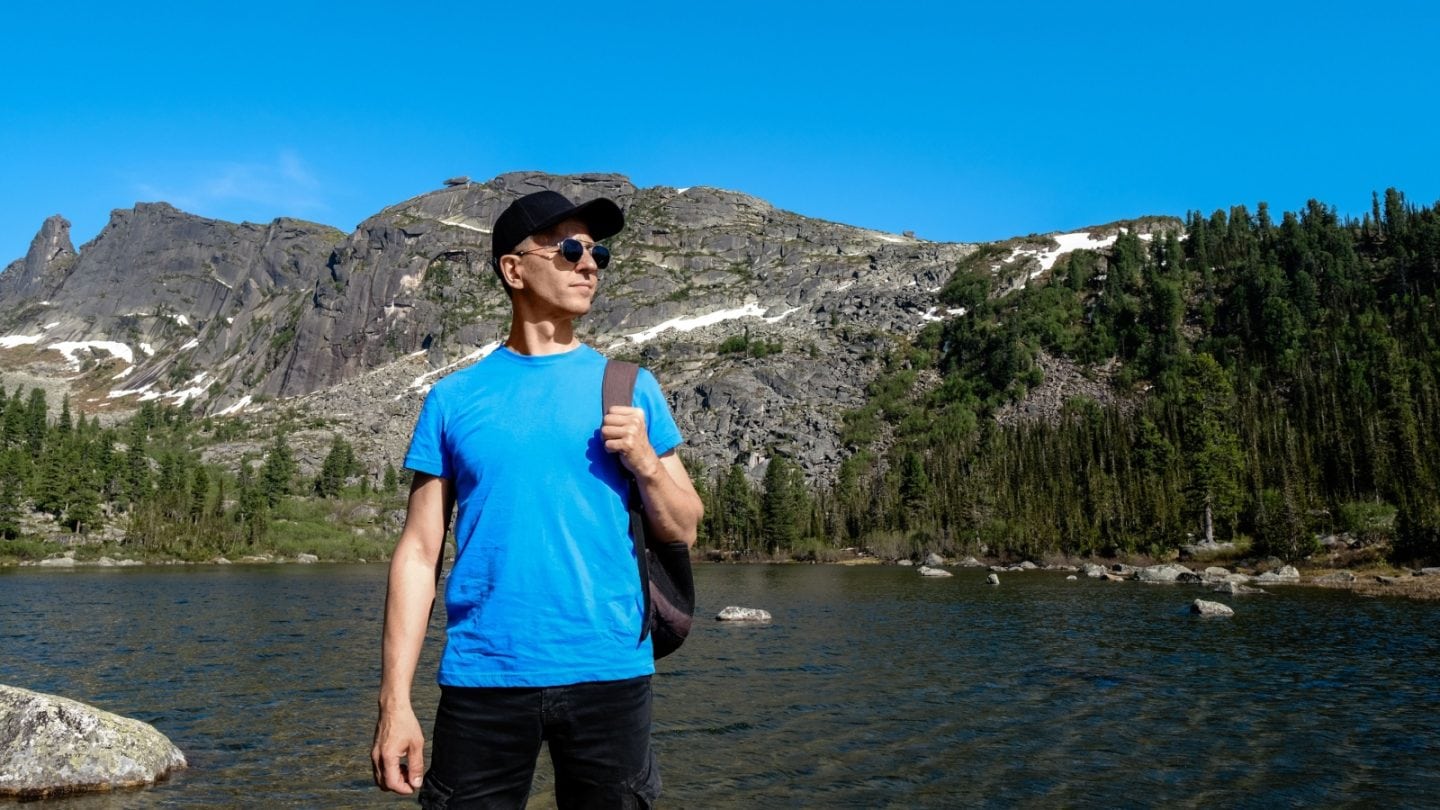
Dress Appropriately

Thermal clothing, hand warmers and hot drinks will help you prepare for cold. You will find that your patience and endurance will be greatly affected by your comfort, and your ability to capture the best images will suffer.
Experiment With Composition
The lights themselves are amazing but adding interesting foreground elements can really give a sense of scale and drama. If you’re searching for reflections on lakes or the silhouettes of trees and mountains, look for an element that can add a new layer of composition to your shot.
Focus Manually
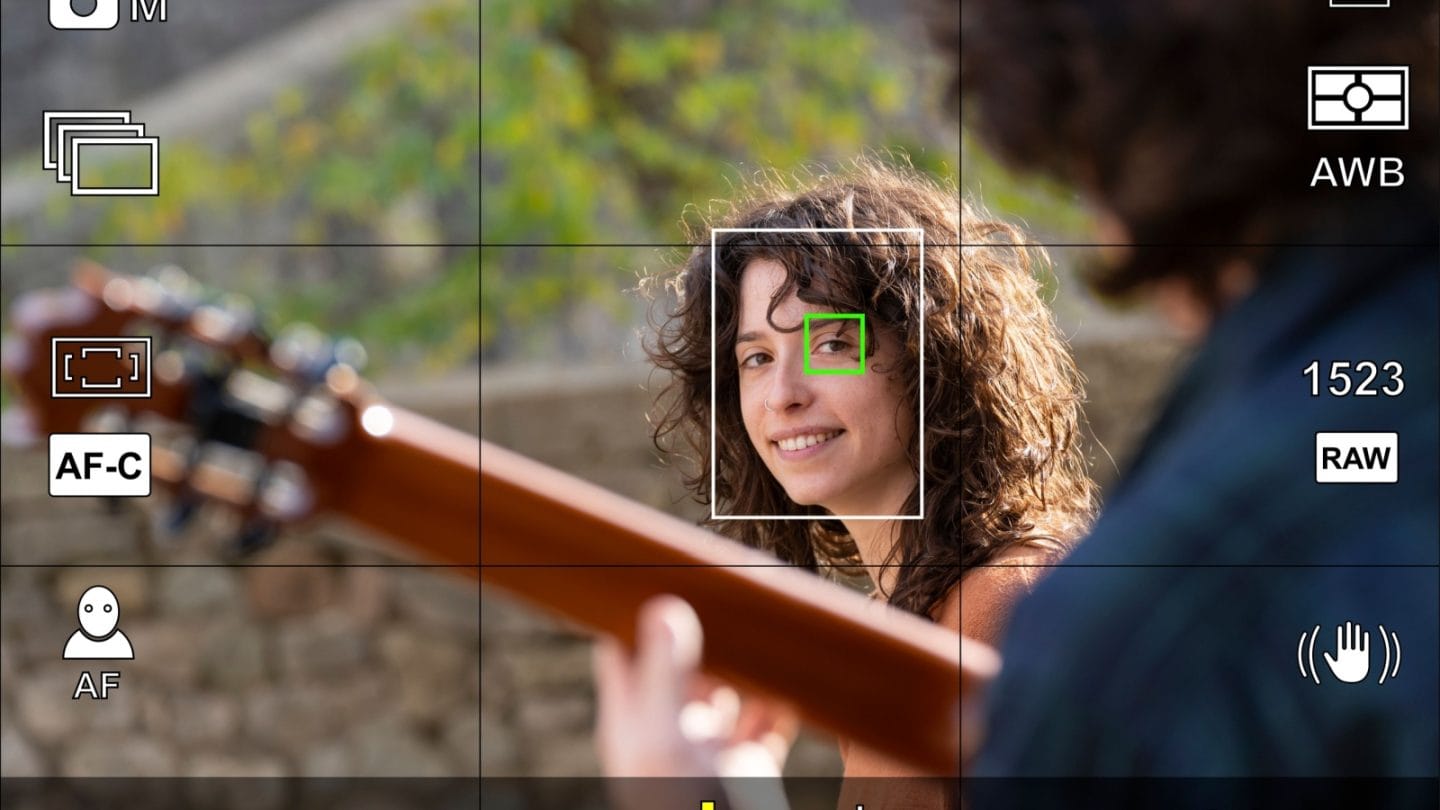
Autofocus mechanisms are less functional in low light situations, such as taking nighttime photos. To get around this problem, switch your camera to manual focus. If you have a camera with a ‘live view’ function take advantage of this to zoom in on a bright star in the sky. Focus the star, manually, until the star is sharp and clear. This technique guarantees that your camera is perfectly focused so that you can frame your shot confidently, getting the clarity and detail you want in your low light images.
Be Patient

Sometimes, the aurora is unpredictable – sometimes it will take hours to get a good display, and sometimes it will flare up and fade in minutes. It takes patience and vigilance to make sure you’re ready to catch the lights when they do show up.
Keep Batteries Warm
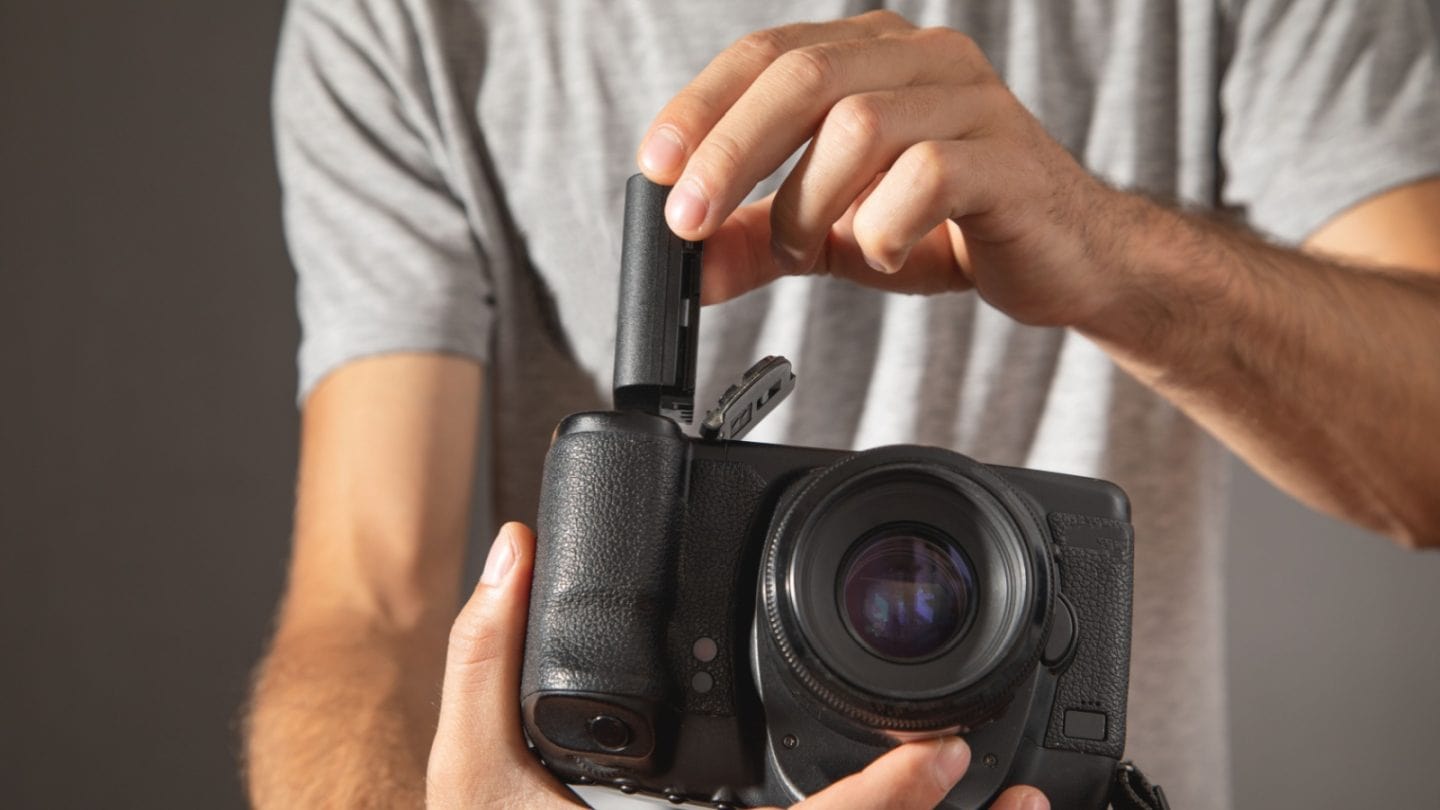
Battery life is drained quickly by cold weather. If you shoot with a camera that uses batteries, keep spare batteries in a warm inner pocket and swap as needed so your camera never runs out of power.
Respect the Environment

Although the Northern Lights are beautiful, catch them in a non-disruptive, non–polluting manner and within local guidelines. Stay on marked paths and take all your rubbish with you. Keeping these untouched areas unchanged will ensure people e can enjoy them well into the future.
Enjoy the Experience
It’s also easy to get bogged down in the technicalities of the Northern Lights, but don’t forget to stop and enjoy the sheer awesomeness of the phenomenon. It’s not just about the pictures you take home; it’s about the experience of watching the auroras.
Disclaimer: This list is solely the author’s opinion based on research and publicly available information.
Affordable Home Entertainment: 11 Must-Have Finds For Enhancing Your Family Movie Nights

Affordable Home Entertainment: 11 Must-Have Finds For Enhancing Your Family Movie Nights
How to Clean Your Smoker Grill Combo Like a Pro

How to Clean Your Smoker Grill Combo Like a Pro
10 Best African Photo Safaris You Must Experience
Even if you’ve been on a safari in the past, an African photo safari is something you want to experience or at the very list add to the top of your bucket list.
But first, what is a photo safari? The phrase “photo safari” is not a common sentence structure but its meaning can be deduced easily. An African photo safari in general context means going on an adventure with the sole purpose of taking high-quality pictures.
10 Best African Photo Safaris You Must Experi